Skip to main content
Select Units Total Monthly Leasing Price $775 - Summer Special! *Restrictions Apply.
Show Me The Floor Plans!
Login
Resident
Login Opens in a new tab
Applicant
Login Opens in a new tab
Phone Number
+1 915-265-5612
Home
Amenities
Floor Plans
Photos
Contact Us
Maps and Directions
Interactive Property Map
Schedule a Tour
Applicant Login
Opens in a new tab
Resident Login
Opens in a new tab
Phone Number
+1 915-265-5612
Home
Amenities
Floor Plans
Photos
Contact Us
Maps and Directions
Interactive Property Map
Schedule a Tour
LIFE BEGINS HERE
Move in Today
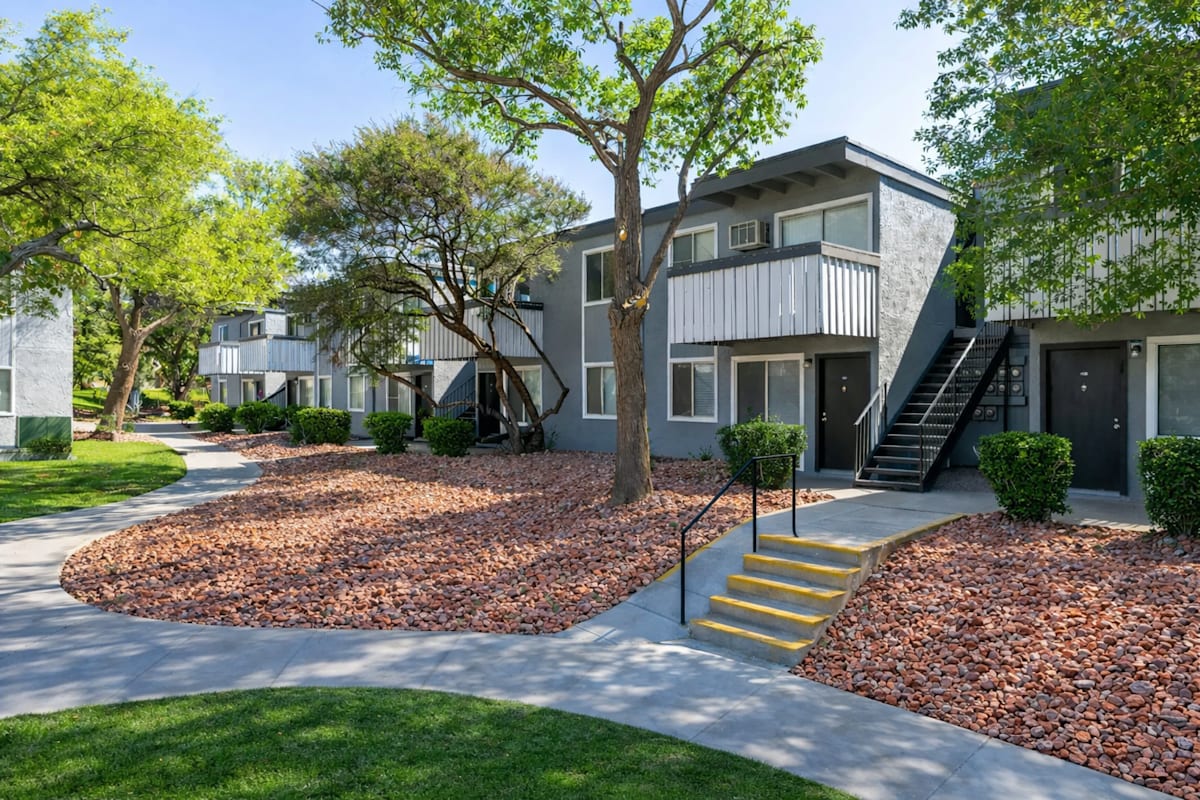
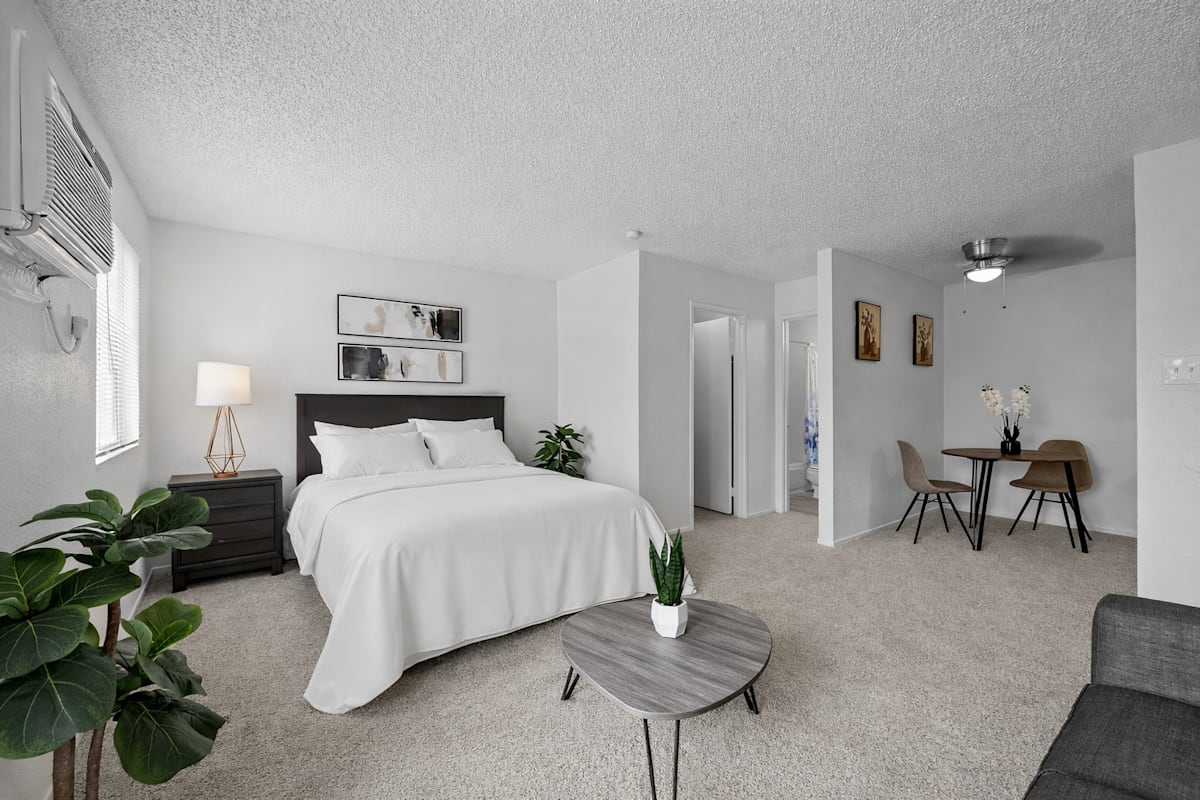
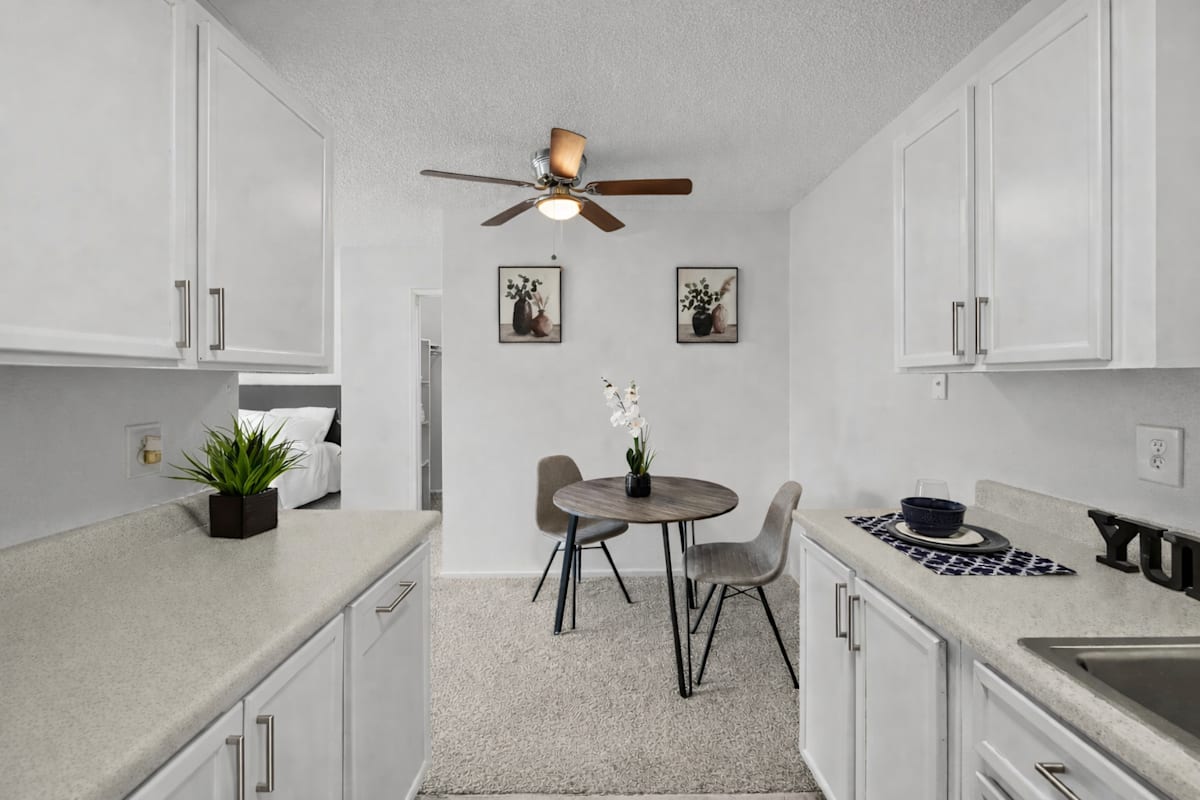
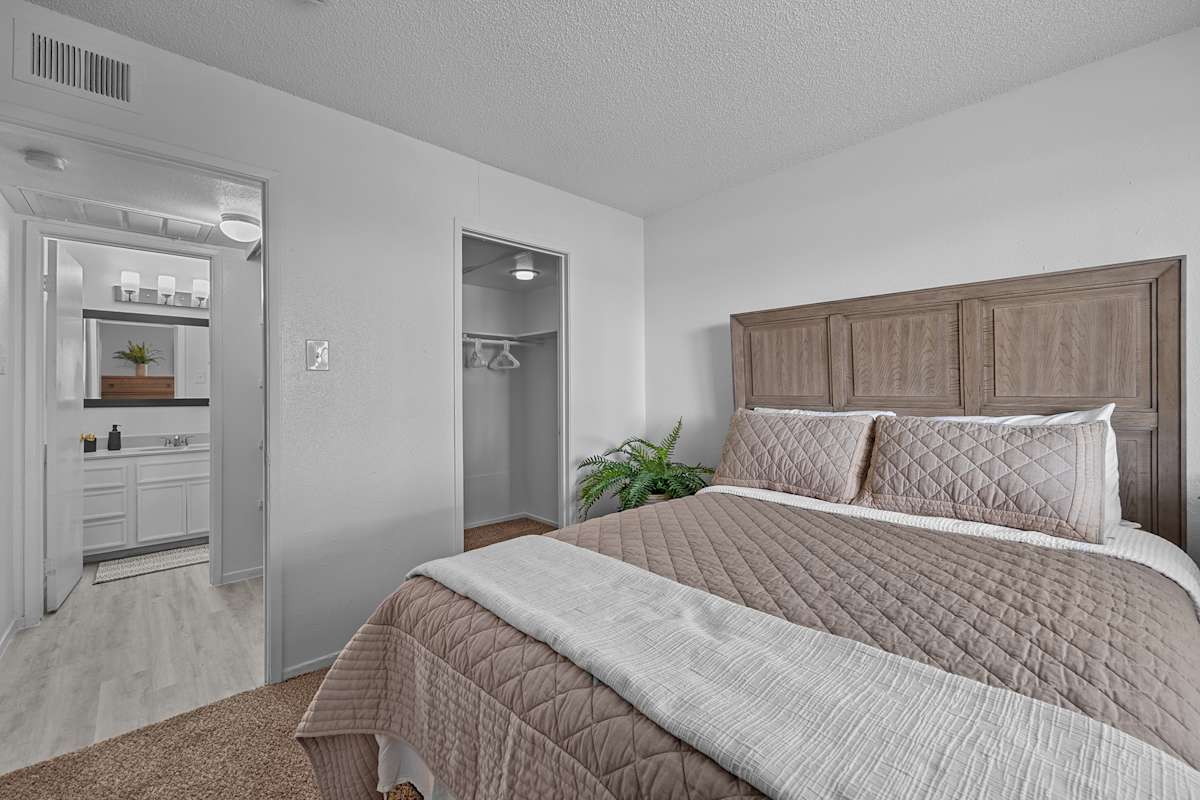
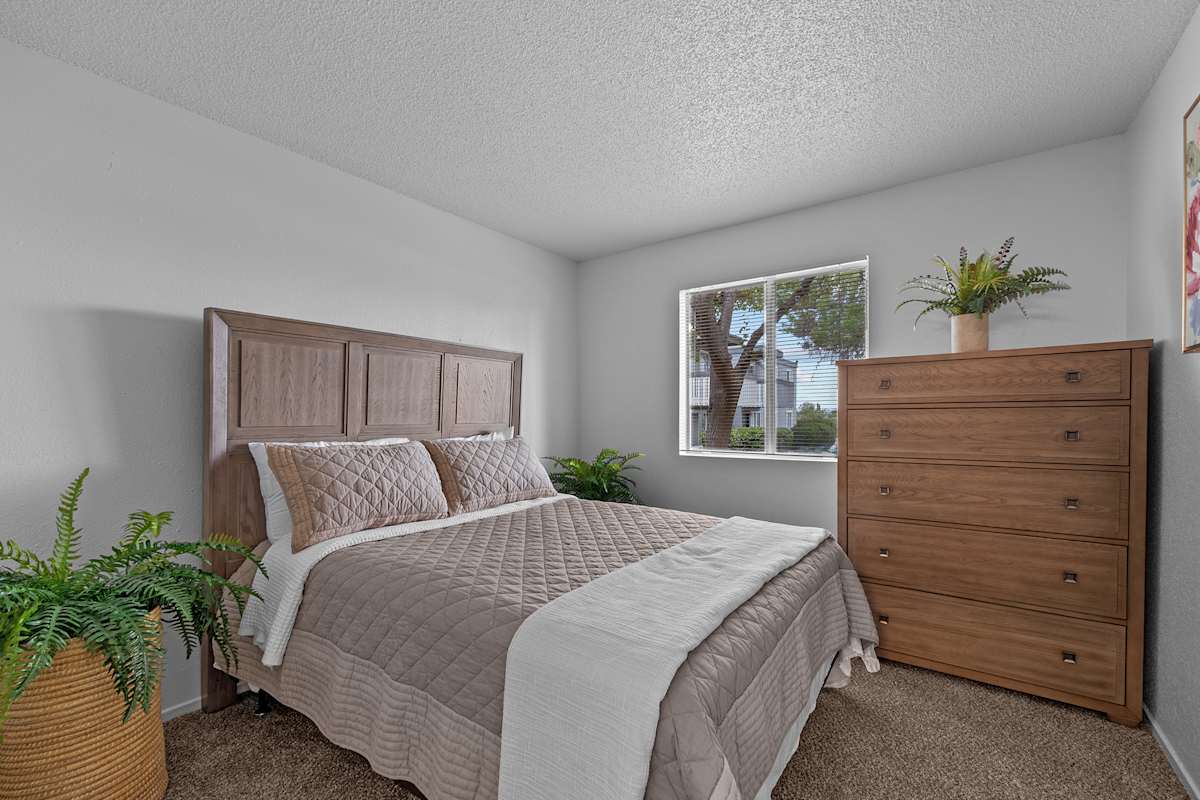
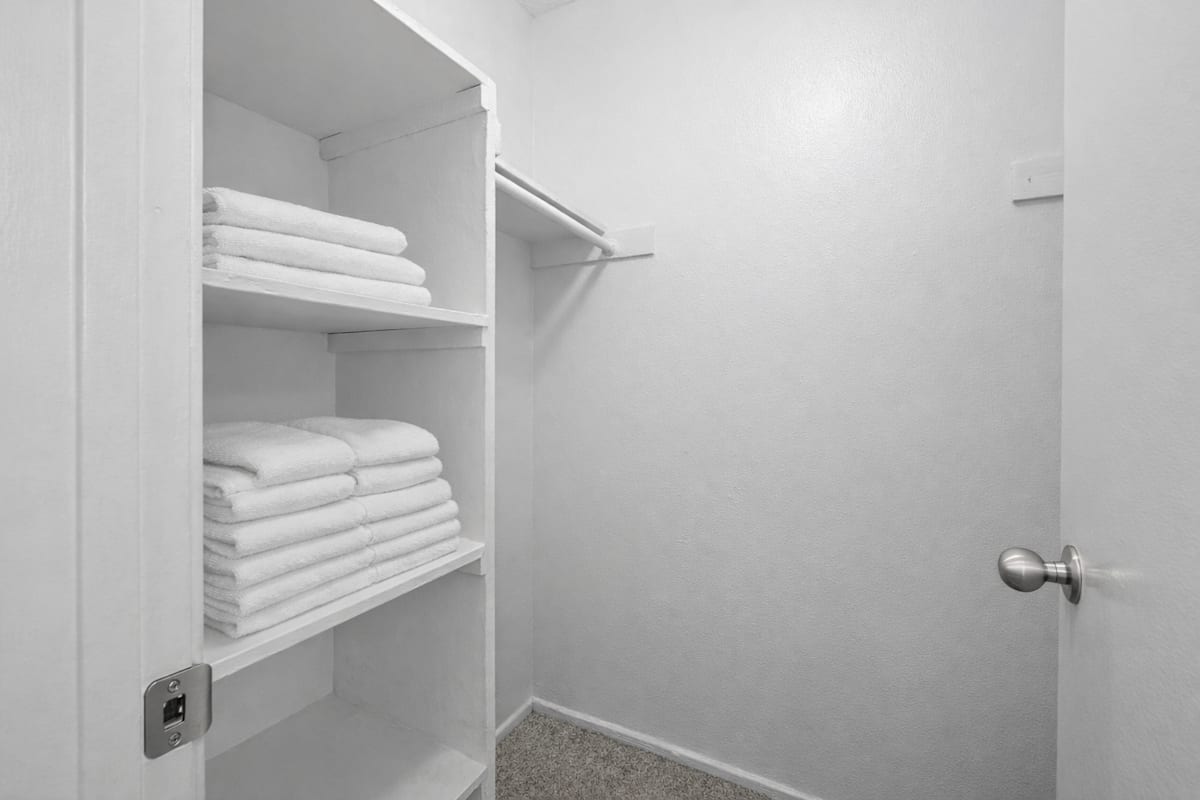
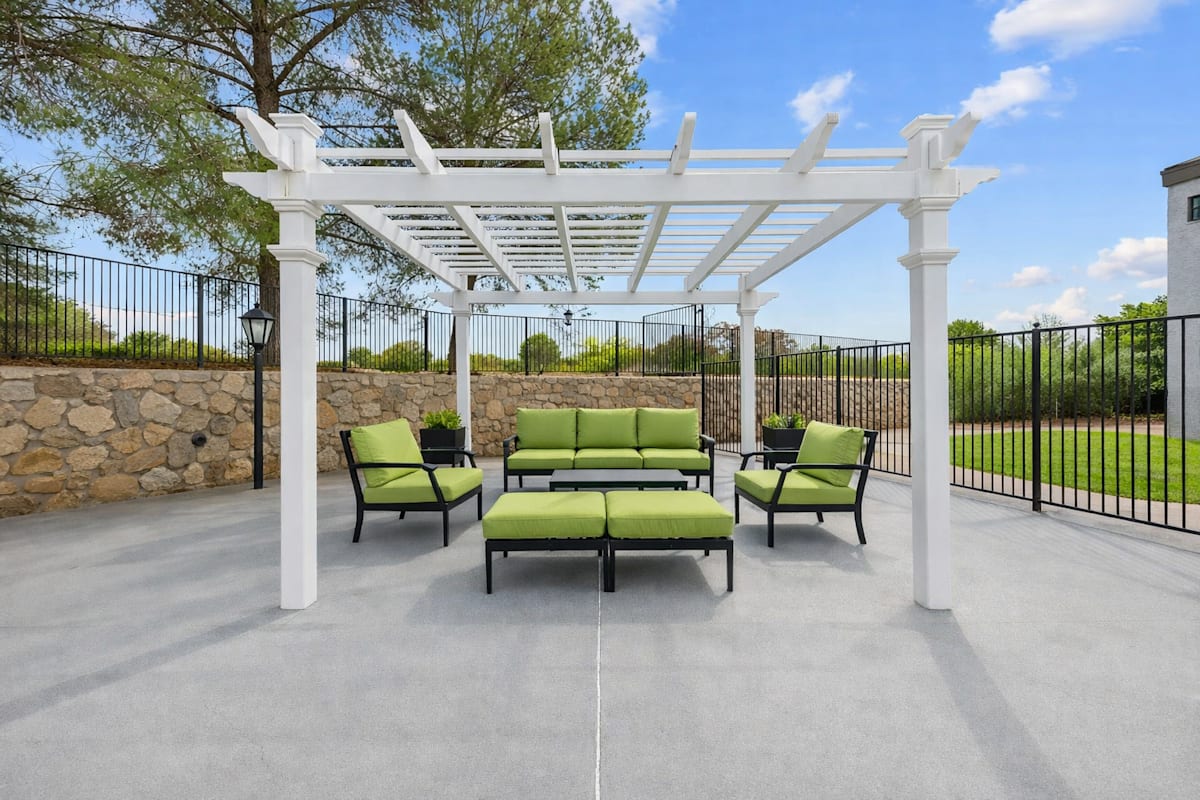
Photo Gallery
All
Interior
Amenity
Exterior
All
Interior
Amenity
Exterior
Resident Login
Opens in a new tab
Applicant Login
Opens in a new tab
Terms and Conditions
Opens in a new tab
Privacy Policy
Opens in a new tab
Contact Us
Accessibility Statement
Opens in a new tab
Equal housing opportunity
© 2026. All Rights Reserved.
|
Powered by RentCafe
(©
2026
Yardi Systems, Inc.
All Rights Reserved.
)
Go to top
Accessibility Options
Color Adjustment
Light Contrast
Dark Contrast
Monochrome
High Saturation
Low Saturation
Invert Colors
Text Adjustment
Enlarge Text
Are you sure you want to remove the accessibility widget?
This will reset any color adjustments you made and remove the accessibility widget from the website. The accessibility widget can be restored by completely closing and reopening the browser.
Front desk options
Email Us
Call Us
Schedule a Tour
Contact Us
Call Us
Phone Number
+1 915-265-5612
Monday:
9 AM
to
- 5 PM
Tuesday:
9 AM
to
- 6 PM
Wednesday:
9 AM
to
- 5 PM
Thursday:
9 AM
to
- 6 PM
Friday:
9 AM
to
- 6 PM
Saturday:
10 AM
to
- 5 PM
Sunday:
Closed
LAKE FAIRWAY
1642 Lomaland Drive
El Paso
,
TX
79935
Opens in a new tab
Schedule A Tour
.png)
.png)
.png)


.png)
.png)